Oil Stove
An efficient oil stove will burn some type of organic oil in an idea environment where the temperature and air (oxygen) supply is optimal. The goal is to burn the fuel in a complete combustion.
Oil as fuel
Oil can be used as fuel for stoves, engines, lamps, and other applications. But the problem with oil is the high flash point, the phase from solid to gaseous form (vaporization). Compared to gasoline, with a flash point of -38 °C, organic oils will has a considerable higher flash point, between 230-360 °C.
Biodiesel can be made of organic oil, methanol, and a catalyst. The catalyst will help to make the reactions happen on a lower flash point and increase the combustion rate. Pure vegetable oil when vaporized will clog the pipes after awhile because of impurities and will damage the engine. Methanol, type of alcohol, will dissolve the oil and make it fluid and easier to ignite.
A combustion reaction is splitting of one molecule into a set of other molecules. By applying oxygen and energy the bonds holding the molecule together can be broken down and transformed by oxidation into other molecules Chemical reaction.
An important law in chemistry is La Chatelier's principle:
If the equilibrium of a system is disturbed by a change in one or more of the determining factors (as temperature,
pressure, or concentration) the system tends to adjust itself to a new equilibrium by counteracting as far as possible
the effect of the change. [1]
Principles
Two main principles will be used to design the stove:
- Rising heat to create a turbulence
- Heat to help the fuel to reach flash point
The heat released by the fire will create turbulence that can be used to control the flame through a conduit. By adjusting the inlet points the intensity of the flame can also be controlled. This can then be used to keep the temperature at a sufficient level while conserving fuel.
For a combustion be complete the supply of air has to be optimal and the temperature surrounding the combustion should be on level with the flash point. Using both metal rods and ceramic bricks as heat storage, the temperature should stabilize inside the stove and help the combustion. The flash point of a flammable liquid is the lowest temperature at which there can be enough flammable vapor to ignite, when an ignition source is applied [2]. Rapeseed oil, a.k.a Canola oil, has a flash point of 327 °C [3].
For optimal efficiency and heat transfer, the kettle will be placed right on top of the exhaust conduit.
Building stove
The burner and conduit will be two separate pieces. This makes it easy to ignite and refill the burner.
Equipment
Conduit:
- 2x Large cans
- 1x Small can
- 1x Garden netting
Burner:
- 1x Small can
- 1x Medium can
- 2x Circular copper sheets
- 1x Threaded rod
- 24x M6 nuts
Build
Conduit
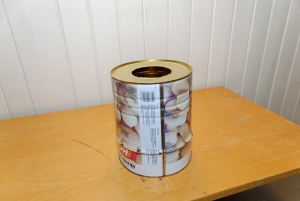
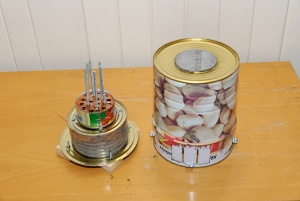
Cut a hole in the middle on the bottom of the large can to fit the small can.
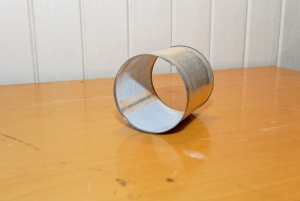
Remove the bottom of the small can to create the conduit and insert it into the hole on the large can to see if it fits.
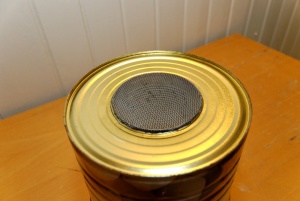
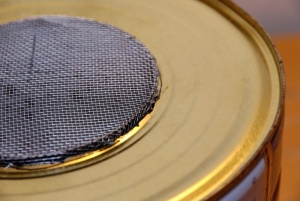
Cut out a circle of the garden netting, place it on top of the small cap and mark around edge of the netting. Cut snippets around the edge just close to the marked edge and bend the flips down around the edge of the small cap. Creating a cap. Insert the can and netting into the large can.
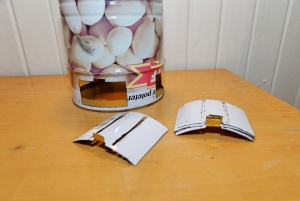
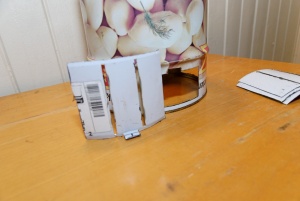
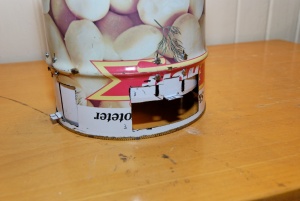
To create the air inlet, cut out four squares on each side of the large can. Find another similar sized can and cut four large squares to use as inlet doors.
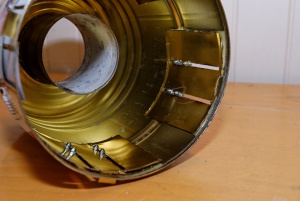
Drill 4 holes for each air inlet and use 1 bolt, 3 washers, and 1 nut to fasten the inlet door.
Burner
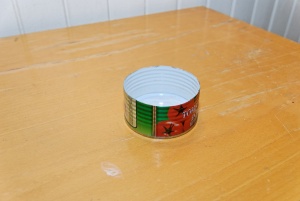
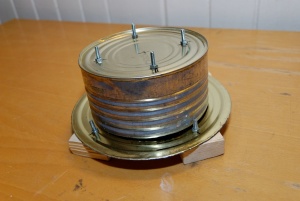
Split the other small can in two, right in the middle.
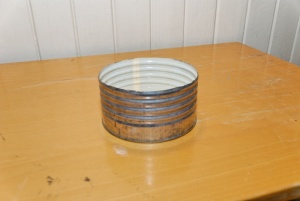
Do the same on the medium can, but this time 3/4th down.
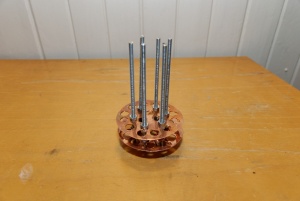
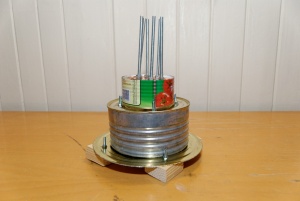
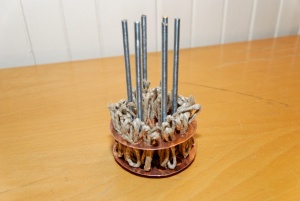
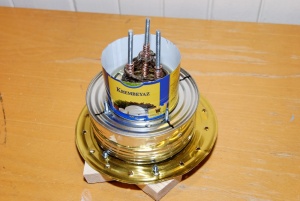
To make the heater, drill 8 holes in two of the circular sheets and a set of larger holes for the wick. Cut the threaded rod to right lengths, they should reache near the top of the conduit. The heat from the fire will transfer via the rod and increase the temperature of the oil.
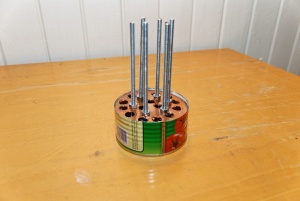
To mount the small can on top of the medium can, drill 4 holes on top of the medium can to fit the small can inside the square. Screw 4 bolts into the holes. Notice that the small can with the oil and wick does not touch the medium can, this limits heat loss to the metal below.
Complete Stove
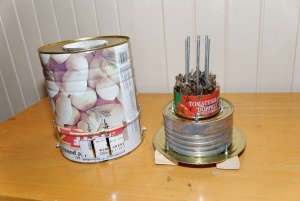
This is the complete stove with the conduit and burner.
Last thing to do is to insert the wick and fill the burner with Canola/Rapeseed oil.
Alt. build
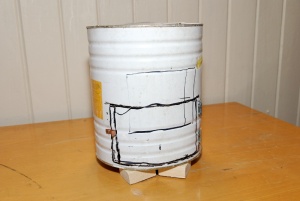
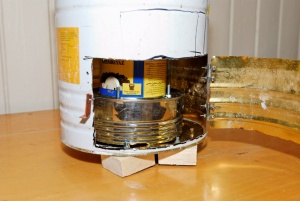
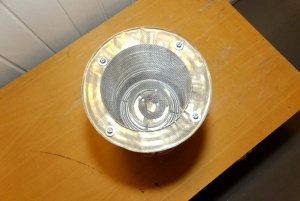
This is a alternate build a friend of mine made. It features a door and a larger conduit.
Measurements
The first test burn were a lot more powerful than anticipated. The flame reached 30-40 cm into the air. The cause was too much wick and ignition surface. Removing half the wicks made the burn more controlled.
- Excessive flames video - Youtube
