Difference between revisions of "Mac mini external sata hard drive"
| Line 37: | Line 37: | ||
[[Image:Mac mini exthdd sata connector fastened inside.jpg|400px]] [[Image:Mac mini exthdd sata connector fastened outside.jpg|400px]] | [[Image:Mac mini exthdd sata connector fastened inside.jpg|400px]] [[Image:Mac mini exthdd sata connector fastened outside.jpg|400px]] | ||
== Mac mini == | == Mac mini == | ||
Revision as of 00:33, 13 June 2008
The internal hard drive is a regular 2.5-inch form factor model, usually found in notebooks and game consoles. These drives doesn't have the performance of their 3.5-inch sibling, with exceptions of the server hard drives with a SATA interface.
External case
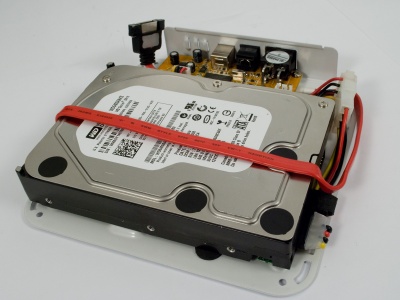
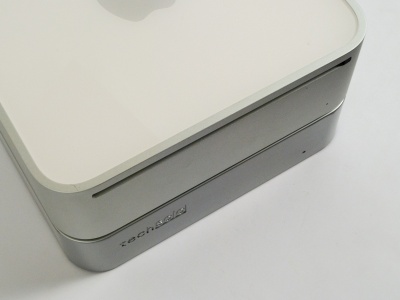
I bought my second Mac mini used, and with it came an external 3.5-inch IDE hard drive case made by TechSolo. The previous owner already modded the case to fit a 3.5-inch SATA hard drive, but cut a big hole in the of the Mac mini and the side of the case.
My idea was to make the connection between the Mac mini and the case less obtrusive and obvious. I also bought a new bottom case to get a new case without any modifications.
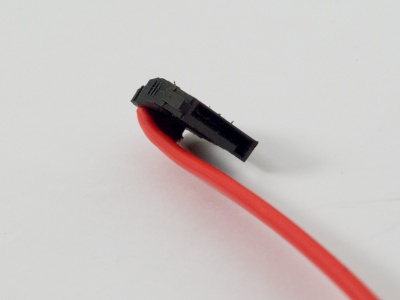
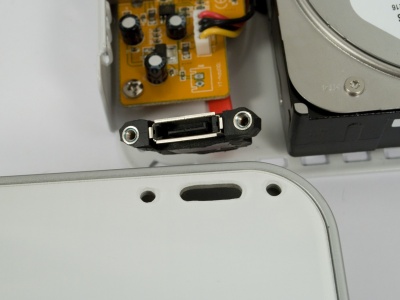
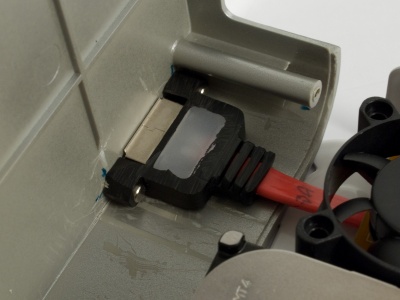
The SATA connector had to be stripped to near the essentials, much of the connector is soft rubber and easy to cut. Both connectors are angled.
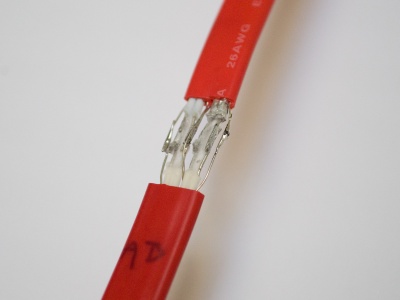
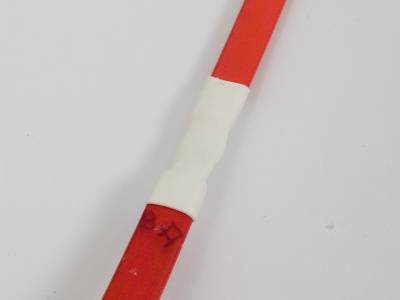
The other end of the SATA cable had a connector with two holes, unfortunately it's hard to get a cable with an angle and connector with screw holes. I cut both ends and soldered them together, making sure to keep the impedance and avoiding shorts using model superglue and shrink tubing.
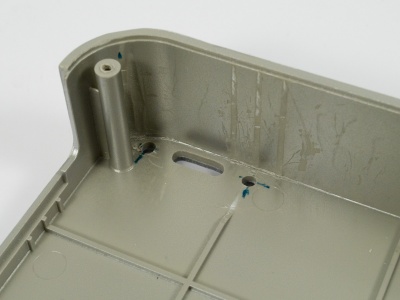
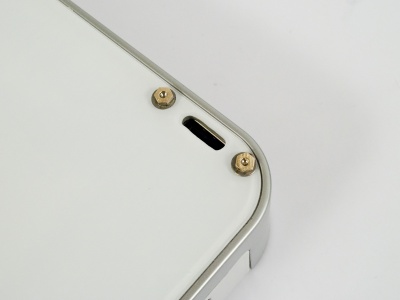
Using a high power drill and a stand, I made three aligned holes for on the left-top side for the SATA connector.
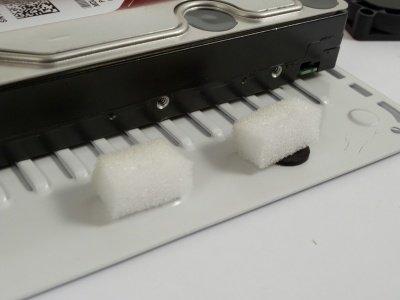
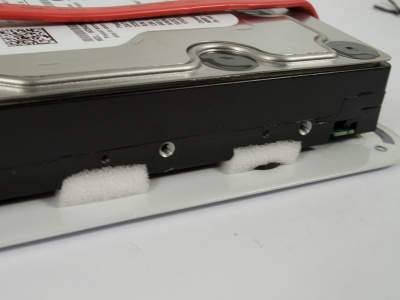
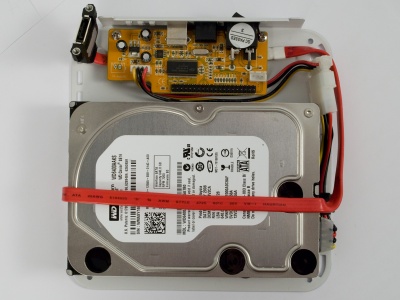
The new hard drive I chose, Western Digital SE16 640 GB 7200 RPM, is pretty quite and not at all loud during seeking. But to further minimize any vibrations and resonance I cut and put small pieces of foam between the hard drive and the case.
The margins are small but it all fits pretty nicely together. There was not enought space under the hard drive and the SATA cable had to go under, up on the other side, over the hard drive, and down the opposite side before doing a sharp bend around the corner.
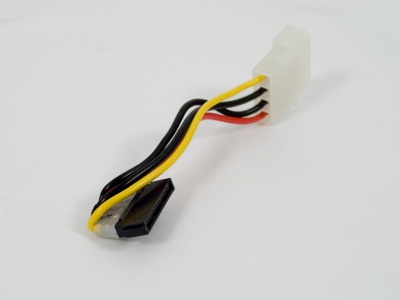
The on-board and hard drive power cable length was perfect, fitting around the hard drive.
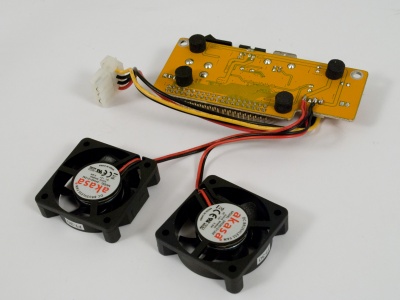
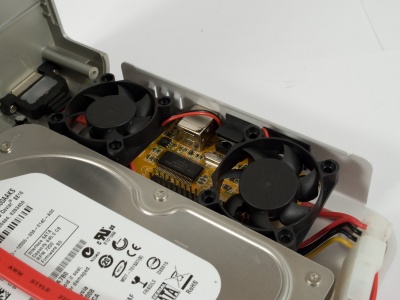
The default case has no active cooling and a hard drive should really be cooled when installed in a small enclosure. The free space above the controller PCB is large enough to fit at least two 4 x 4 x 1 cm fans.
12V was too loud for my liking and I decided to connect them to 5V instead.
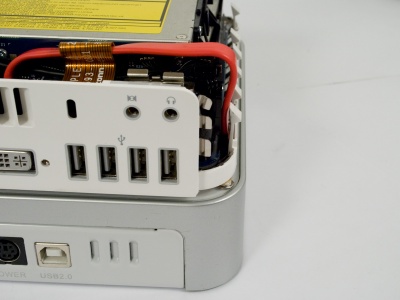
The SATA connector is aligned and fastened with two screws.
Mac mini
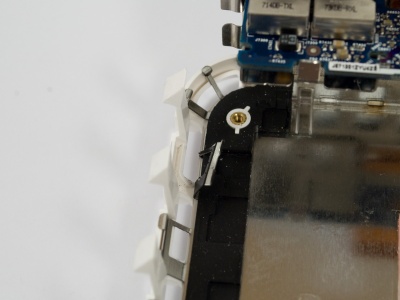
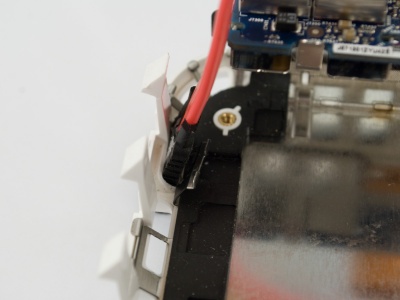
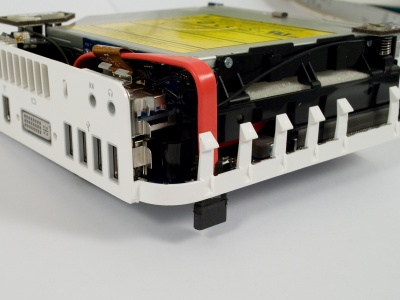
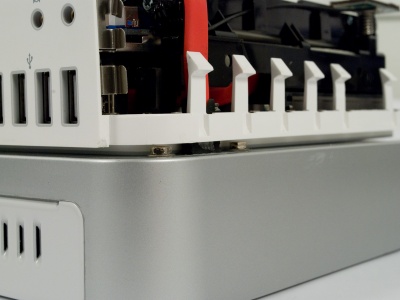
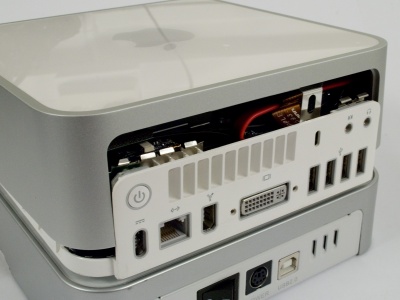
On all around the Mac mini case there are wents (~1 cm wide) perfect for a stripped SATA connector.
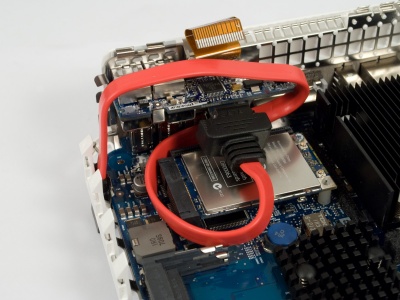
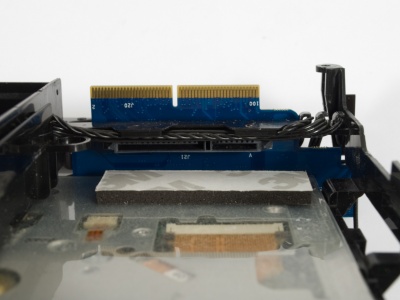
The margins inside the Mac mini is even smaller, lots of precautions has to be made, e.g. not blocking the wifi antenna cable, making sure enough SATA length cable length is left for headroom, not blocking the top case separator walls, and that the SATA connector stays connected to the Mac mini riser card.
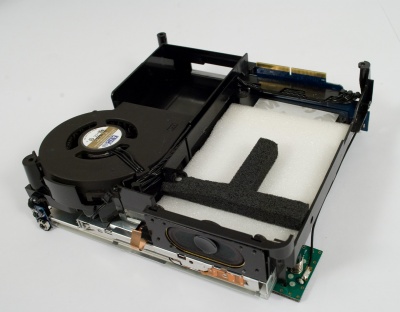
The empty room left after removing the internal hard drive is padded with foam to make sure the designed air flow still is intact and flows over the northbridge and memory modules.
Once the top case is put back in place and the SATA cable is routed properly through the case, the end connector will protrude a fair bit off the bottom of the case.
Connected together
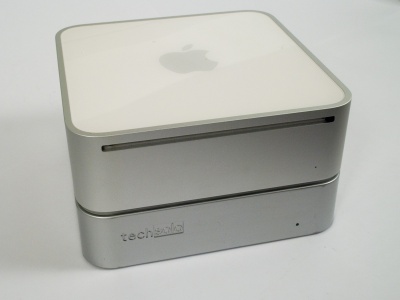
The external SATA connector on the Mac mini aligns perfectly on top of the external hard drive case. The power for the external case is still provided by its own adapter but the data connection is now integrated (and high speed).
I had to bend the 4 flaps on the back left-side on the Mac mini to make it close up fully, nothing major. A trick is to close the back first, then the front.
The Mac mini and external case combination looks pretty nice.
